
The Short Answer
To find an underground sprinkler leak, isolate before you dig. Use the water meter to learn whether the leak is on the always-pressurized supply side (backflow preventer, mainline, valves) or on a zone's lateral line. Then run the zones one at a time, watch for weak heads and wet ground, and narrow it to a section of pipe. The wettest spot on the lawn is a clue, not always the location.
This is the same logic a professional uses during sprinkler leak detection. You can do the first steps yourself safely. The later steps, like pressure testing and excavation, are where a provider earns their fee. For the full picture of what gets repaired once the leak is found, see our overview of irrigation leak repair in Romeoville, IL.
Know the Two Sides of Your System
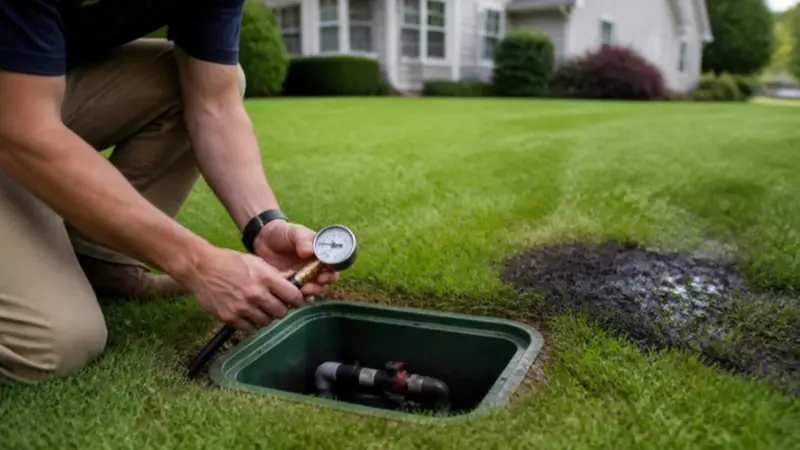
Every in-ground sprinkler system has two very different halves, and knowing which one is leaking cuts the search in half.
Supply side (always pressurized)
The irrigation shutoff, the backflow preventer, the mainline and the zone valves. Water is held here 24 hours a day, so a leak here runs constantly, even when the controller is off.
Zone side (pressurized only while running)
The lateral lines, swing joints and heads after each valve. A leak here only loses water while that zone runs, and it shows up as weak heads or a wet area on one zone.
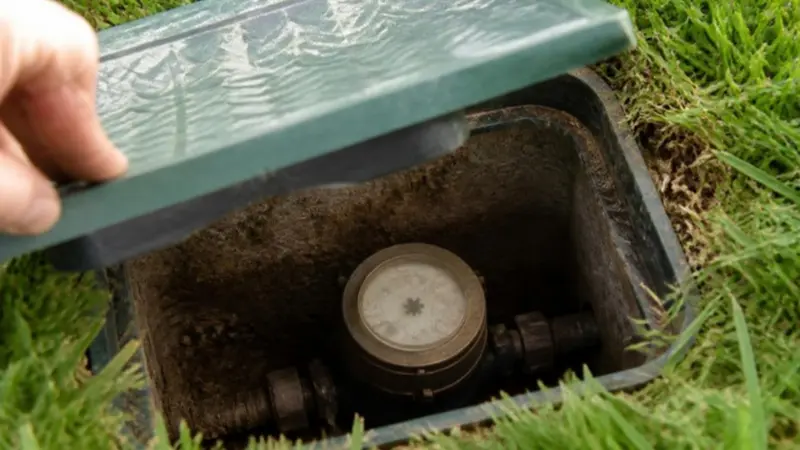
Step 1: The Water Meter Test
- Stop all water use in the house: no dishwasher, laundry, softener regeneration or running toilets.
- Turn the sprinkler controller off, but leave the irrigation shutoff open so the system stays pressurized.
- Read the meter, including its small low-flow indicator (often a triangle or dial), and wait 15–30 minutes.
- If it moved, close the irrigation shutoff and repeat. If the movement stops, the leak is on the sprinkler supply side. If it keeps moving, the leak is probably inside the house plumbing.
A supply-side leak points to the backflow preventer, the mainline, or a zone valve that isn't sealing. If the meter doesn't move at all with the system idle, the leak (if there is one) is on a zone's lateral line.
Step 2: Run the Zones One at a Time
Use the controller's manual or test mode to run each zone for a few minutes while you walk it. Look for:
- Heads that don't pop up fully or spray noticeably shorter than the rest of the zone
- Water bubbling up around a head, in the turf or along the edge of a walk
- A geyser from a broken head or a head missing its nozzle
- Water running out of a valve box, or a box that floods while one particular zone runs
A zone where every head is weak usually has a significant lateral leak or a valve that isn't opening fully. One weak head at the end of a run can simply mean a clogged nozzle. See sprinkler head repair.
Step 3: Read the Ground
Once you know the zone, narrow down the section. Clues include soft, spongy turf, a sunken strip that follows a pipe route, grass that's greener or taller than the rest, algae or moss, and mud that keeps appearing at the edge of pavement.
Keep in mind that water moves. It follows the loosened soil in the original pipe trench, runs downhill, and in the heavy clay soils common around Romeoville it can travel sideways before surfacing. The break is often upslope of the wettest spot, or a few feet away from it.
Before you dig: Illinois requires a JULIE (811) locate before excavation. JULIE marks public utilities, not your private sprinkler pipe, so you still need to know roughly where your lines run.
When to Call a Professional
Call for help when the meter shows a supply-side leak you can't see, the leak is under a driveway, patio or tree roots, the valve boxes are buried or lost, or the system keeps developing new leaks. A provider can pressure test the mainline, trace valve wires with a locator, and dig once in the right place. The repair itself is usually underground irrigation pipe repair or a valve replacement.
If your first sign was the water bill, read how to tell whether your sprinklers are behind a high water bill.